|
| 
|
Image Design for the Rocket eBook There are several issues to be considered when formatting titles for the
Rocket eBook. The ability to accurately represent graphical information is key
to some titles and may dictate if the title is even appropriate for use on a
Rocket eBook.
The purpose of this document is to help identify what types of images will
convert easily and look good as well as provide a few examples of how more
complicated images can be managed.
General Observations
The Rocket eBook screen is very high resolution and ideal for
reading text. However, making good-looking images can sometimes be
difficult because of the 1-bit per pixel, monochrome screen. With
some work, most images look quite good on the Rocket-eBook.
- Line art generally looks good and requires little modification.
- Graphs, charts, tables etc. can all look good but almost always require
some amount of hand processing.
- Multi-page artwork and photographs should be avoided if possible.
- Newspaper clippings and maps often look fine however some have very small
text that may be illegible one the artwork has been resized.
- Using mainstream tools such as Adobe's PhotoShop images that would
otherwise look poor can be manipulated to look much better by using the
anti-alias control, filters, brightness/contrast, black/white level control
etc.
- Each image may need individual consideration. Simply converting artwork to
.png format without any modifications will display less then optimal
results.
Technical Information
- Images that are 312x312 pixels or less will fit on the display in any
orientation. Images larger than the screen size can be "panned" on the
horizontal and/or vertical axis as needed. This feature works very well for
graphs, charts, tables, maps etc.
- The Rocket eBook supports Portable Network Graphics PNG (pronounced "ping")
files. Most graphic programs easily convert or export in PNG format however
some applications may not allow for 1bit conversion.
- Images that are in a non-bitmap format (EPS, etc.) will scale much better
since they are not resolution-dependent. Bitmapped images may scale better if
first converted to vector images via applications such as Adobe's Streamline.
In many cases converting to grayscale and then resizing will also result in
better images since the operator has tools available to manipulate the image
that are not available in bitmap mode.
- Scanned images are discouraged since it is difficult to get acceptable
results. Screen shots provide much better results and generally require less
conversion time. There are many "screen snap" utilities available via the Web.
- Default settings (Interlace, Filter, etc.) for Photoshop produce
reasonable results. Users experienced with these applications may be able to
"tune" them for better results. In our testing Diffusion Dither produced the
best images.
- Images are linked to the HTML body via the <img> tag. Images
must reside in the same directory level as the HTML since the Rocket eBook
currently has no understanding of sub-directories. See Designing
RocketEditions for more information.
Sample Images
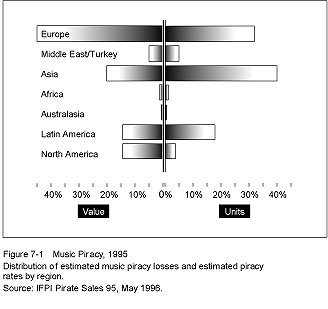
This example shows a graph in its original .eps format and then a bitmap .png
conversion of the same graph. A simple conversion in this case results in a very
bad looking image.

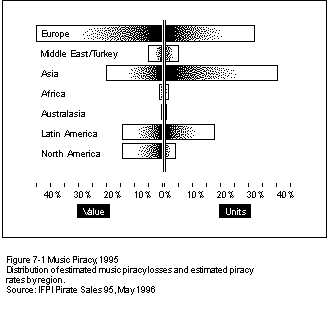
In this example a much better representation of the graph was developed using
the original .eps file with the anti-aliasing feature turned off. While this
might normally produces a less desired effect it actually helps with bitmap
conversion. The Photoshop Sharpen filter, Adjust Level and Brightness/Contrast
controls we're also used.
Sample Bitmap Image Conversion Process
While there are many possible scenarios this is an example of a typical image
conversion process:
- Convert the artwork to Grayscale if the file is already a bitmap.
- Resize the artwork to the appropriate size. When working with small print
and/or large images that require panning, try to get the overall image size as
small as possible with the smallest text as legible as possible.
- Once the image is the right size start working with the Adjust Levels and
the Brightness/Contrast controls. The idea here is to get the Grey’s out and
as much black/white separation as possible. Using PhotoShop you can preview
the work as you go along. Determining what ultimately looks good requires some experience
and testing.
- When the image has reached a point that seems like it might be ready,
convert it back to a bitmap. If the image looks good then it can be converted
to a .png and saved. If the image looks bad, undo the bitmap conversion and
try again. Repeat this process until the image looks good in bitmap format.
- Save to a 1bit .png and preview on the Rocket-eBook.
- Verify the size is correct and that image looks nice.
- Repeat these steps if anything needs to be changed.
|


 Home
Home